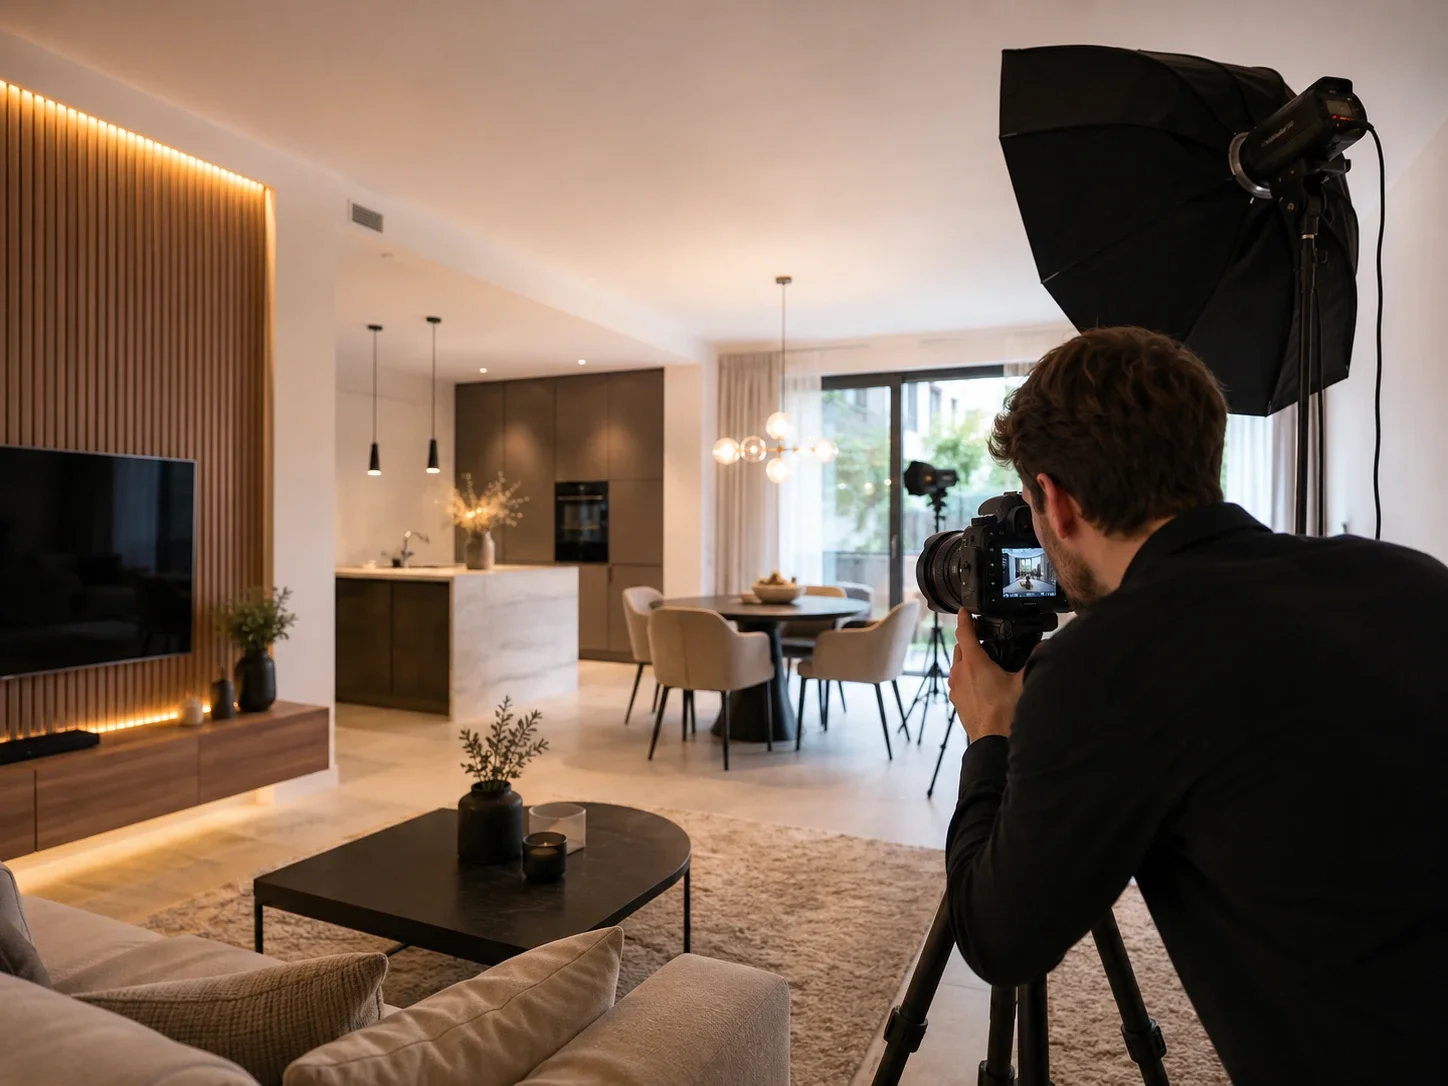
7 Things Sellers Forget Before the Photographer Comes
Professional photography makes or breaks your online listing. 90% of buyers start their search online, and 88% decide whether to schedule a viewing based on photos alone. Seven practical tips that most sellers overlook.
1. Clear the Entryway Completely
The first photo is often the front of your home. Remove shoes, coats, bikes, bins, and garden items from the entry. An empty, clean entryway photo signals that the home is well-maintained and inviting. This single photo gets more clicks than any other on your listing.
2. Open All Curtains and Blinds
Natural light is the photographer's best friend. Open every curtain, blind, and shade fully. Rooms flooded with natural light appear larger and more welcoming. Close them back after shooting if you prefer privacy — the photos are what matter for selling.
3. Declutter Every Visible Surface
Kitchen counters, bedside tables, bathroom shelves, desk surfaces — all should be nearly empty. Personal items, appliances, and decorations distract buyers. When buyers look at photos, they need to see the room, not your possessions. Remove 80% of what's currently visible.
Photography Tip: Empty surfaces look bigger
A kitchen with a bare counter and minimal appliances looks 30% larger than the same kitchen cluttered with a toaster, coffee maker, and cutting board. The photographer can make these rooms shine if they have clear surfaces to work with.
4. Make Beds with Fresh, Neutral Bedding
Unmade beds look chaotic in photos. Make your beds perfectly — no wrinkles, pillows arranged neatly. Use neutral colors: white, light gray, or beige. Bright or patterned bedding dates the photo and distracts from the room. A perfectly made bed with neutral linens makes bedrooms look peaceful and well-cared-for.
5. Hide Cords and Cables
Visible TV cables, charger cords, and extension cords clutter photos significantly. Before the photographer arrives, hide or tuck away every visible cable. If that's not possible, use cable organizers to minimize the visual impact. In photos, cords look like mess — even if the room is otherwise immaculate.
6. Clean All Windows, Inside and Out
Dirty windows reduce light quality and make even bright rooms look dull in photos. Clean windows inside and out thoroughly, including window sills and frames. This is often forgotten but makes an enormous difference in how light flows through the home in photos.
7. Stage the Living Room with One Statement Piece
The living room photo sets the tone for the entire listing. Choose one aesthetic element: a tastefully arranged bookshelf, a few books on the coffee table, or a simple plant. Don't overdo staging — the goal is to show the space, not to create a showroom. One well-chosen piece helps buyers imagine themselves in the room.
Bonus: Take Photos at the Right Time of Day
Schedule photography for late morning or late afternoon when light is soft and warm. Avoid midday when shadows are harsh, and avoid overcast days which can make homes look cold. The photographer should arrive when natural light is at its best for your home's orientation.
Conclusion
Professional photos are your home's first impression for 90% of buyers. These seven preparations take a few hours but make a dramatic difference in how your home looks online. A few hours of prep work can translate to dozens of additional viewings and a faster, more competitive sale.
Ready to list your home?
We arrange professional photography and guide you through the entire selling process.